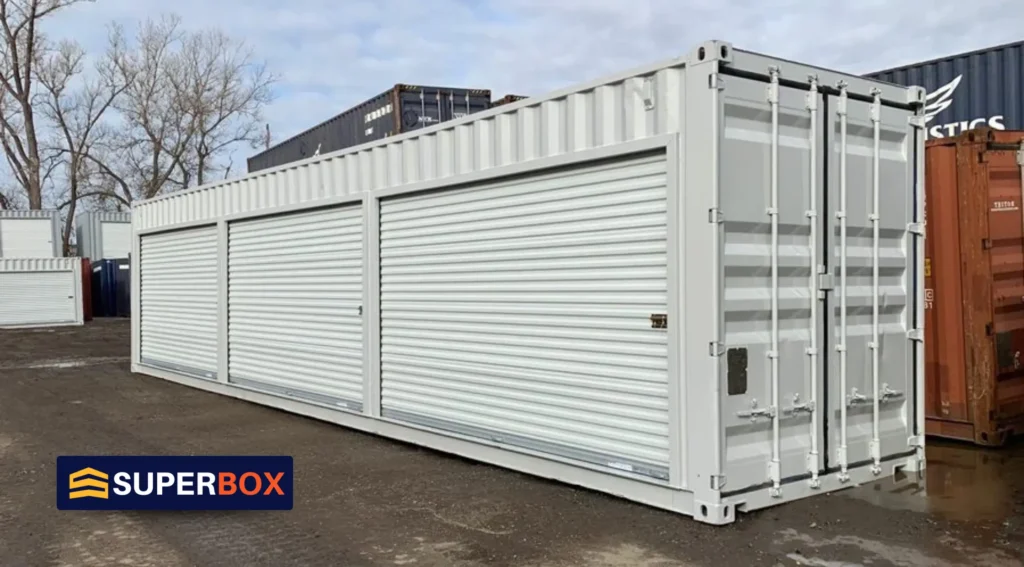
Shipping containers are strong and flexible structures that people use for storage, workshops, or even living spaces. But one common problem container owners face is how to easily get in and out of them. Adding a roll-up door is a popular solution because it makes accessing the inside much simpler and more efficient.
In this blog, we’ll show you step-by-step how to install a roll-up door on your shipping container, so you can make the most of your space.
Step-by-Step Guide: Installing a Roll-Up Door on a Shipping Container
Let’s get started with installing your roll-up door on the shipping container. Just follow these easy steps, and you’ll have quick and simple access to your container in no time!
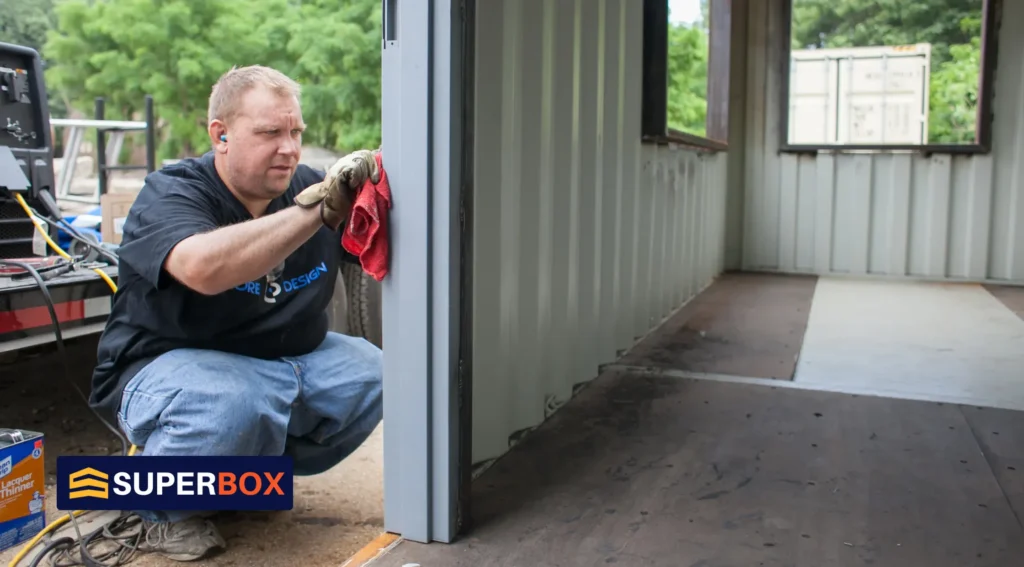
Step 1: Measure and Mark the Door Opening
Start by measuring the space where you want to install the roll-up door. Make sure the door will fit well inside the container’s walls. A typical roll-up door for a shipping container needs an opening that’s at least 7 feet wide and 7 feet high. Once you’ve figured out the size, use a pencil or chalk to mark the outline of the door on the container’s wall.
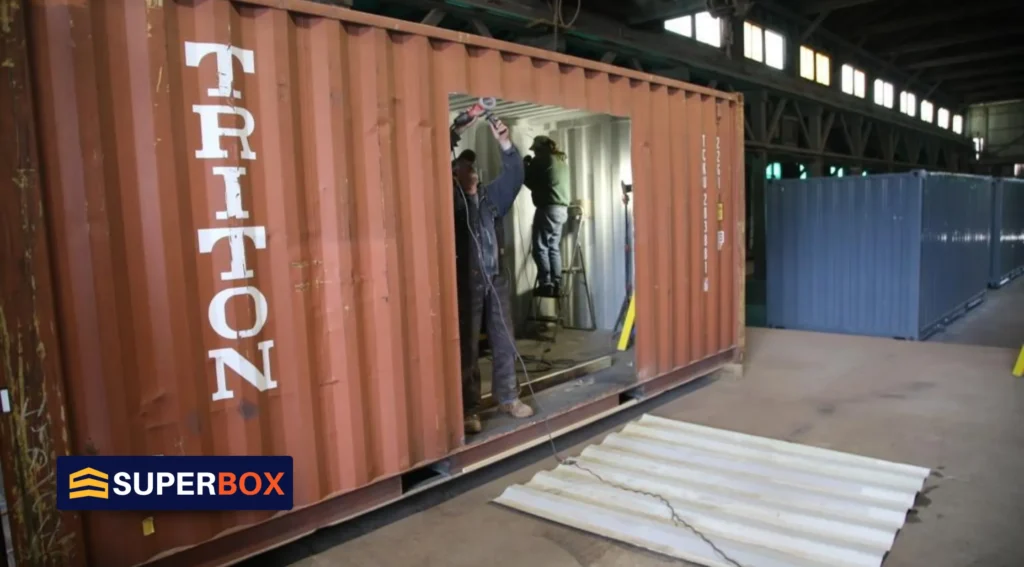
Step 2: Cut the Door Opening
Next, use an angle grinder (or another cutting tool) to carefully cut along the marked lines and create the door opening. This step needs to be done carefully, so take your time. Remember to wear safety gear like gloves, goggles, and ear protection when using power tools.
Tip: If you’re not comfortable using power tools, it might be a good idea to hire a professional to do the cutting and avoid damaging the container.
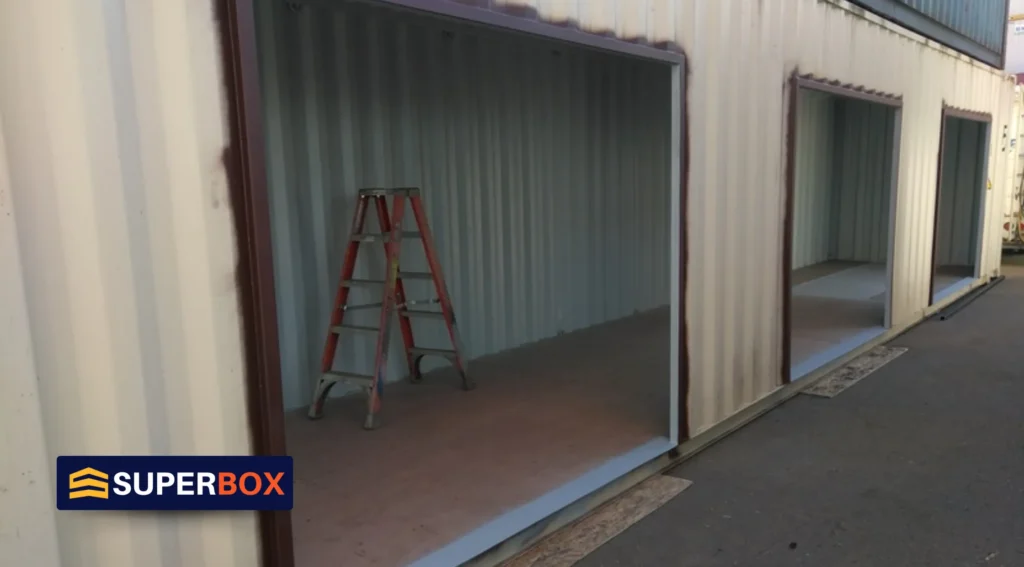
Step 3: Install the Frame
After the opening is cut, it’s time to install the frame for the roll-up door. Place the frame in the opening, making sure it’s level and straight. Use a drill to make holes in the metal of the container, then secure the frame with bolts or screws. If your door kit needs welding, weld the frame firmly to the container’s walls.
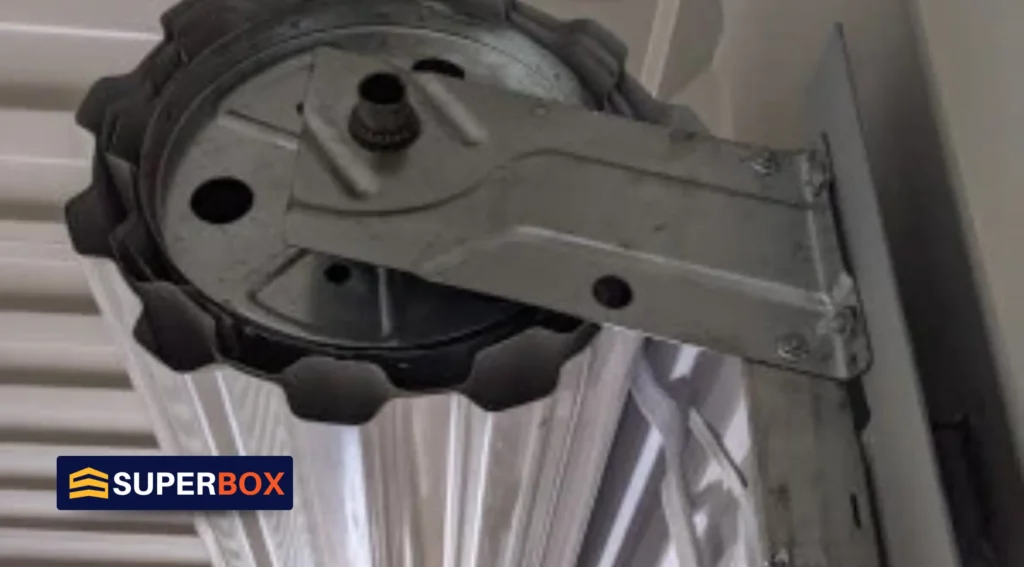
Step 4: Attach the Roll-Up Door Mechanism
Now it’s time to install the roll-up door itself. Carefully lift the door mechanism into place, making sure the spring and tension system is set up correctly. Follow the instructions that came with your door kit to attach the roller brackets and door panels. Make sure the door moves smoothly and is properly aligned so it doesn’t get stuck.
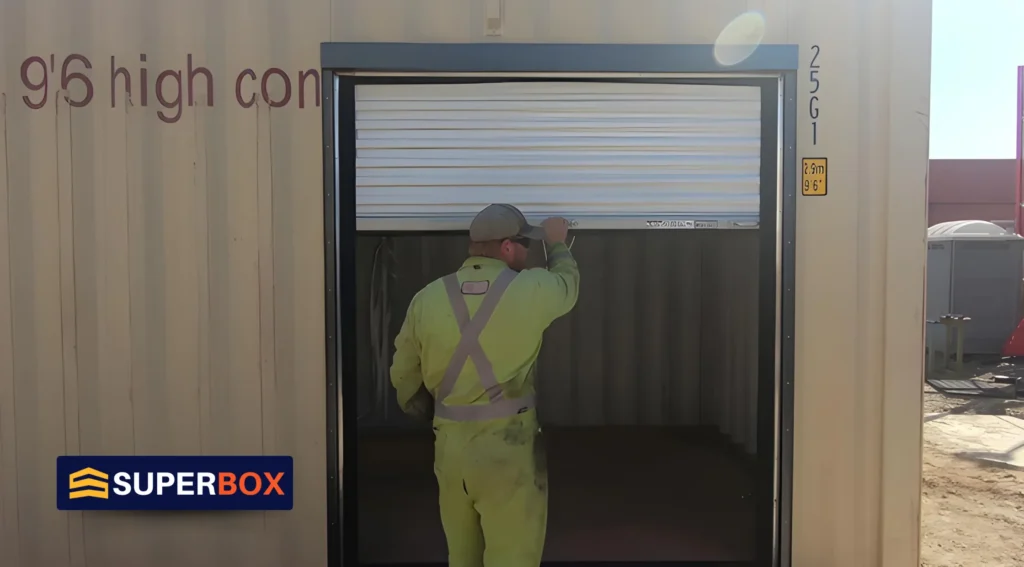
Step 5: Secure the Door and Test It
Once the door is in place, follow the manufacturer’s instructions to secure everything. Test the door to make sure it opens and closes smoothly. If the door feels too stiff or doesn’t roll easily, you might need to adjust the tension on the spring. If the door is heavy, it’s a good idea to get some help during this step.
Conclusion
Installing a roll-up door on your shipping container is a straightforward way to significantly improve both access and functionality. With the right tools and a little patience, you can easily upgrade your container. By following these simple steps, you’ll have a secure, durable door that makes opening and closing your container a breeze. Take your time, follow the instructions carefully, and you’ll enjoy a smooth, hassle-free installation that adds value and convenience to your space.
Upgrade Your Shipping Container with a Roll-Up Door with SuperBox
Looking to enhance your shipping container? At SuperBox, we offer high-quality containers and expert roll-up door installations for easier access and better functionality. Whether for storage, a workshop, or living space, a roll-up door can make all the difference.
Ready to upgrade your container? Contact SuperBox at 1-866-696-9269 for top-notch products and advice!


