Shipping containers are strong and versatile, but like anything kept outdoors, they need some care to stay in good condition. One of the best ways to protect your shipping container is by painting it. This guide will show you how to paint your container, from prepping the surface to applying the final coat. Whether you’re using it for storage, a workshop, or even a tiny home, painting helps improve its look and protects it from rust and the weather.

Why You Should Paint Your Shipping Container
Shipping containers are tough and versatile, but weather can cause rust, fading, and damage over time. Painting your container not only improves its appearance but also offers several key benefits. Here’s why you should paint your shipping container:
1. Protects Against the Weather
A good coat of paint acts like a shield against rain, sun, snow, and humidity, which can cause rust and damage. Marine-grade paint helps prevent rust and keeps your container in great condition.
- Prevents rust: Paint stops moisture from rusting the container.
- Weather protection: It protects the container from extreme temperatures and weather, making it last longer.
2. Improves the Look
While painting is mainly about protection, it also improves the appearance of your container. Whether you use it for work or storage, a fresh coat of paint makes it look much better.
- Custom colors: Pick any color or design you like.
- Professional appearance: A clean, painted container looks better, especially for businesses.
3. Increases Durability
Painting adds an extra layer of protection, helping your container withstand wear and tear.
- UV protection: Paint helps block the sun’s rays, preventing fading and damage.
- Scratch protection: It protects the container from minor scratches and dents.
4. Stops Further Damage
Painting helps stop container rust and damage from spreading. Without paint, rust can grow and cause bigger problems.
- Stops rust: Painting over rust prevents it from spreading.
- Seals cracks: Paint fills small gaps, keeping water out and preventing further damage.
5. Easier to Maintain
A painted container is much easier to keep clean and fix if needed.
- Easier to clean: Dirt and grime come off easily from painted surfaces.
- Simple touch-ups: If the paint chips, it’s easier to fix when dealing with rust.
6. Better Resale Value
If you ever want to sell or rent your container, a painted one looks much better and is worth more.
- Higher resale price: A well-painted container is more valuable.
- Better first impression: People are more likely to rent or buy a container that looks cared for.
7. Energy Efficiency
Painting your container a light color keeps the inside cooler.
- Cooler interior: Lighter colors reflect heat, which keeps the container cooler, especially if you use it as an office or home.
- Save on energy: A cooler container means you won’t need to use air conditioning as much, saving energy.
Step-by-Step Instructions on How to Paint a Shipping Container
Painting your shipping container is an easy and effective way to protect it from the elements and improve its appearance. Follow these simple steps to give your container a fresh, durable finish.
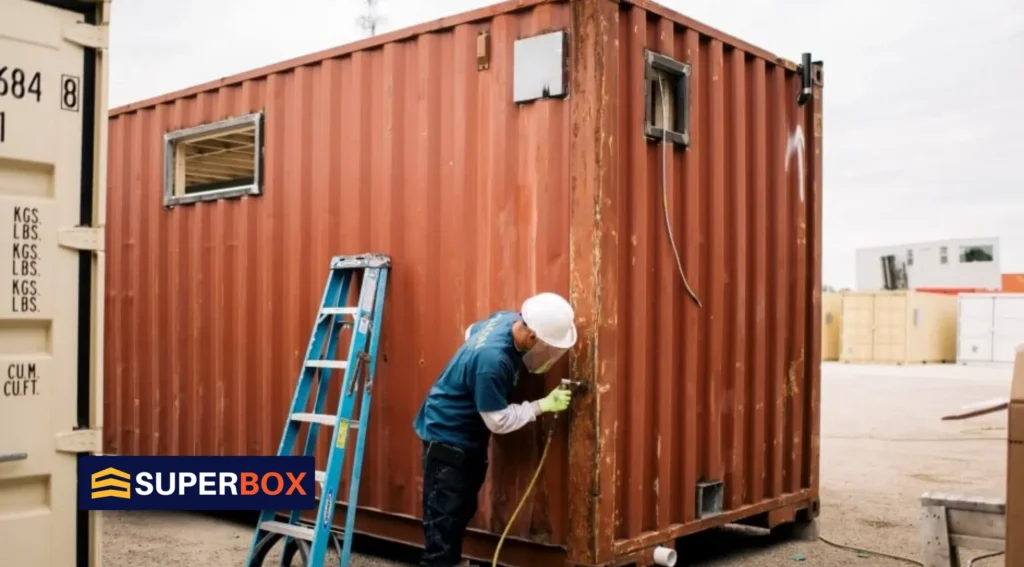
Step 1: Inspect and Prepare the Surface
Check the container for rust, dirt, or peeling paint. Make sure the surface is clean and smooth before you start.

Pressure wash to clean the container. This will remove dirt, grease, and loose paint, making it ready for a new coat.

Step 3: Scrape Off Rust
Use a wire brush to scrub off any rust or peeling paint. For heavy rust, you may need to use sandpaper or a grinder to smooth the surface.

Step 4: Fix Any Damage
If there are dents or holes, fill them with a rust-inhibiting filler. Once it dries, sand it down to make the surface smooth.
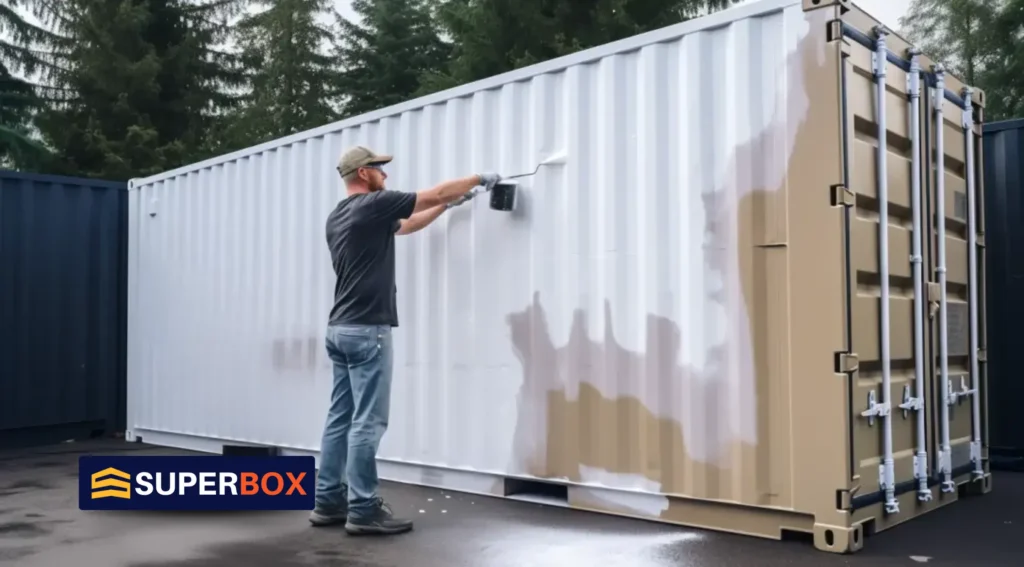
Step 5: Apply Primer (if needed)
If the container has a lot of rust or is bare metal, apply a primer. This helps the paint stick better and provides extra protection.
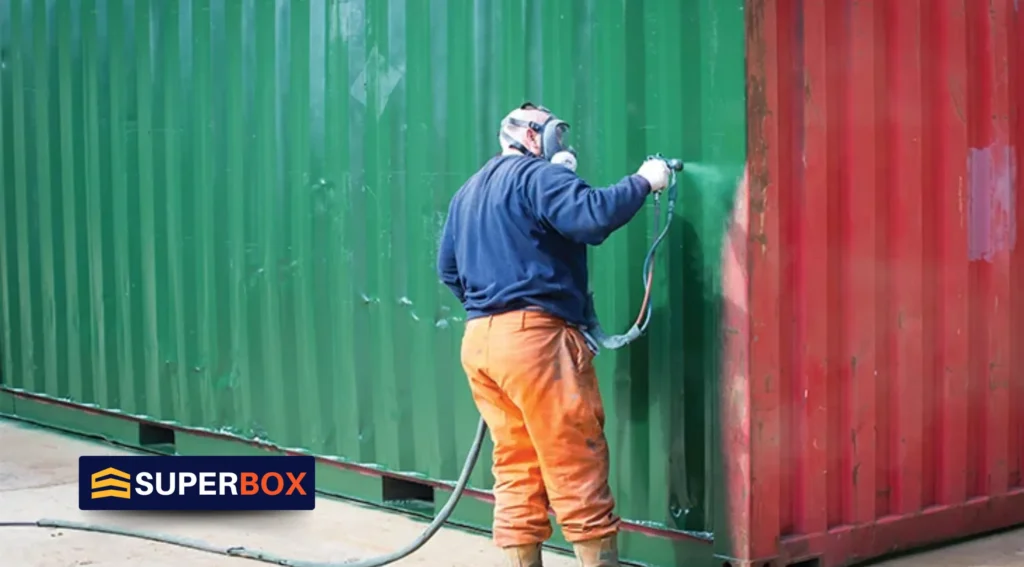
Step 6: Apply Marine-Grade Paint
Use marine-grade paint for the best protection. This type of paint resists rust and harsh weather.
Use a roller for huge flat areas, and a brush or spray gun for edges and corners.
Apply thin, even coats, and let each dry completely before adding the next.
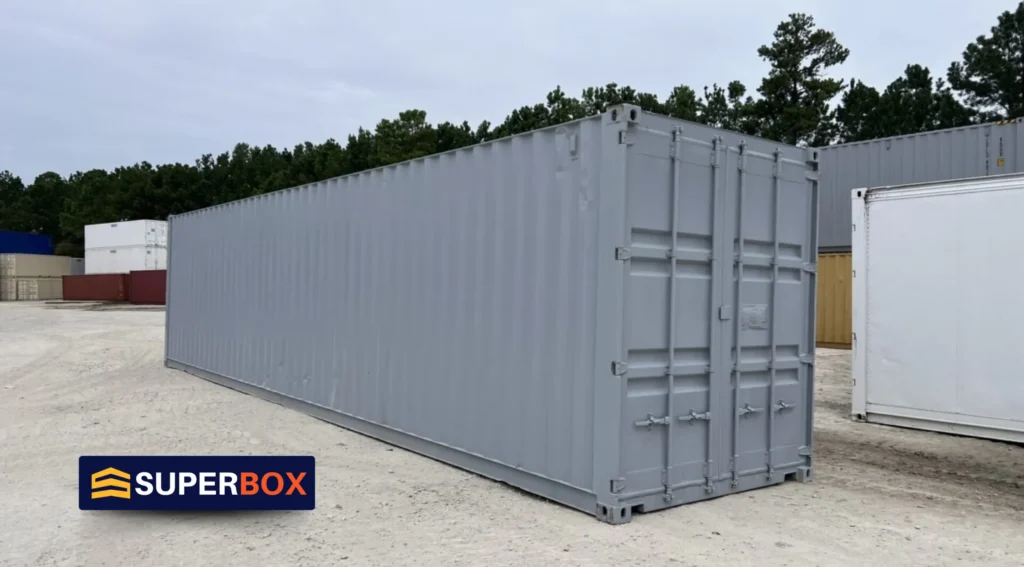
Step 7: Let It Dry and Cure
Once the paint feels dry, wait a few hours (or follow the paint’s instructions) before using the container.
Conclusion
Painting your shipping container is a simple yet effective way to protect it from rust and weather damage while improving its appearance. By following the steps outlined above, including inspecting affected areas and applying high-quality marine-grade paint, you’ll ensure your container stays in top condition for years to come. Just remember to take your time with surface preparation, choose the right paint, and allow proper drying time to achieve the best results. With a little effort, your shipping container will be functional and visually appealing!
Protect and Enhance Your Shipping Container with SuperBox
At SuperBox, we understand that your shipping container is more than just a storage space — It’s an investment, whether you’re using it for business, storage, or as a home. Keeping your container in top condition is essential. Painting it not only improves its appearance but also protects it from rust and the elements, extending its lifespan.
Need a new, used container or professional painting services? SuperBox has you covered. We offer durable containers and expert painting to keep your container in shape.
Call 1-866-696-9269 today to get started — let us help you make your shipping container work for you!


